Anleitung zum Aufstellen und Aufbau eines Tipis Wenn möglich, wähle einen ebenen Platz, der höher oder zumindest das gleiche Niveau wie die Umgebung aufweist. Wurzeln, Steine und Unebenheiten müssen beseitigt werden und die Nähe hoher Bäume sollte ebenfalls vermieden werden.

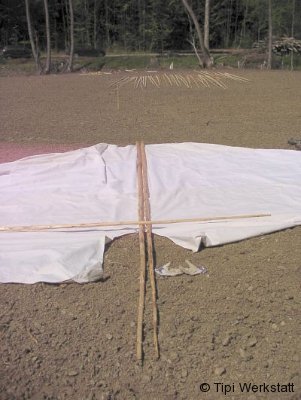
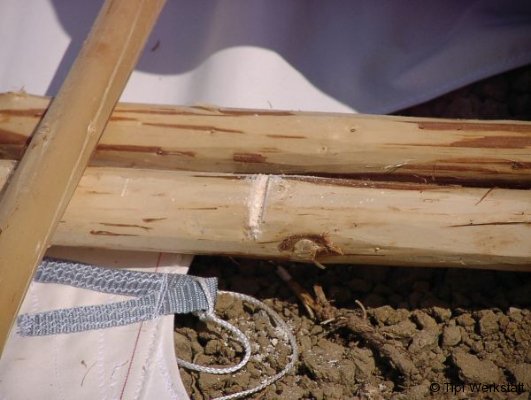
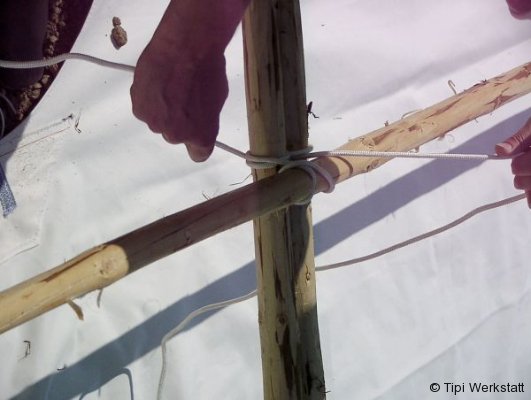
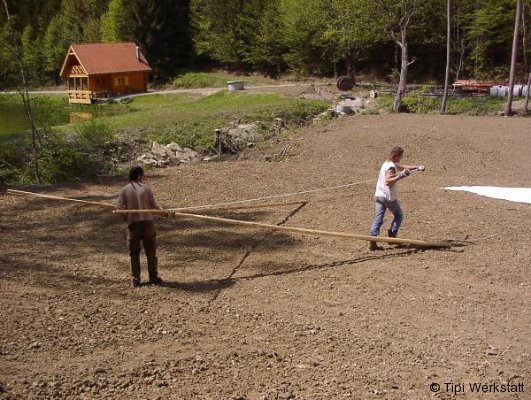
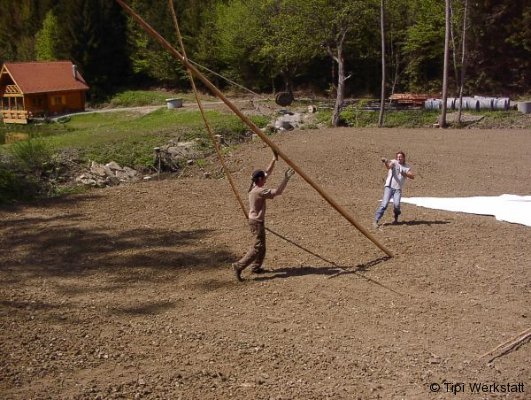
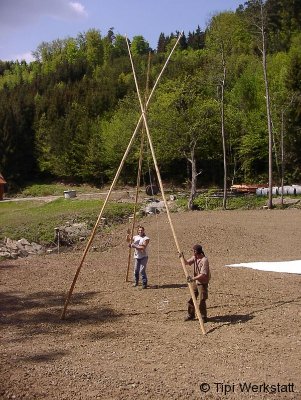
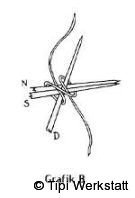
Für das Aufstellen der Tipistangen wählt man zunächst die drei stärksten aus. Eine weitere starke Tipistange wird zum Hochziehen des Stoffes beiseite gelegt. Die zwei leichtesten Tipistangen werden für die Rauchklappen verwendet. Die Grafik A zeigt, wie bei ausgebreiteten Stoff jene Stelle zu finden ist, an der die Tipistangen zusammengebunden werden. Die Stangen kreuzen sich auf Höhe der Kragenschlaufe und stehen je nach Tipigröße 10-15 cm über die Rundung des Tipis. Am besten ritzt man die Stangen am Kreuzungspunkt ein, damit das Seil besser hält. Die Grafik B zeigt eine Möglichkeit, wie die Tipistangen verknotet werden können. Das Seil wird einmal um jede einzelne Stangen geführt und erst dann 3 bis 4 mal um alle herumgeschlungen und verknotet. Anschliessend können die Tipistangen aufgestellt werden – Grafik C und D.

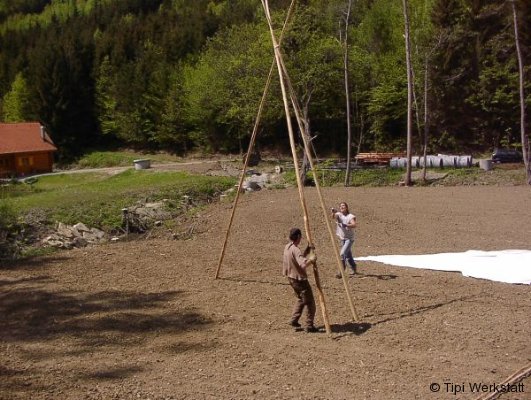
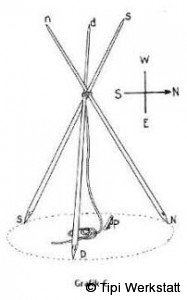
Um die endgültige Position festzulegen sollte ein Hering im Zentrum platziert werden. Das Zentrum läßt sich an dem herabhängenden Seil der zusammengebundenen Tipistangen (Lot) erkennen. Der Abstand zu den beiden hinteren Tipistangen (S,N), das ist die der Eingangstüre abgewandte Seite, sollte gleich lang sein. Der Abstand zu der Eingangstipistange ist etwas länger. Zum Messen kann ein Seil verwendet werden, daß an dem Hering im Zentrum festgeknüpft wird. Der halbe Tipidurchmesser entspricht ca. dem Abstand zu den Stangen S und N.

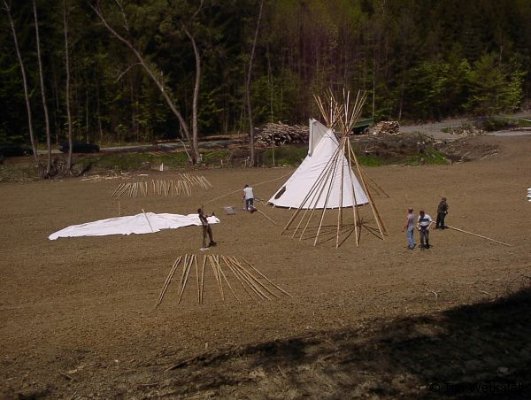
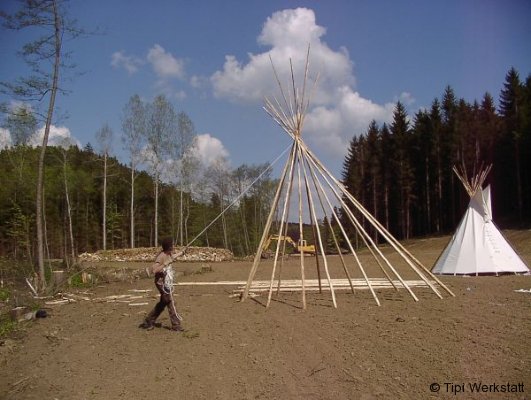
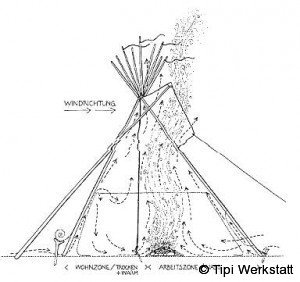
Nachdem das Grundgerüst wie in Grafik C aufgestellt ist, können die restlichen Tipistangen plaziert werden. Die Tipistangen 1 bis 5 (siehe Grafik D, 18 Stangen Tipi) werden zuerst aufgerichtet, dann werden die Tipistangen 6 bis 10 aufgerichtet und über die zuvor aufgestellten Tipistangen darübergelegt. Zuletzt werden die Tipistangen 11 bis 14 aufgerichtet, wobei ein Zwischenraum für die letzte Tipistange L, zum Hochziehen des Stoffes, freigelassen wird. Nun wird das herabhängende Seil zum Verzurren der Tipistangen zur Hand genommen. Hierbei verläßt man das Grundgerüst und geht vier bis fünf mal im Uhrzeigersinn um das Tipi, wobei das Seil ständig gespannt wird. Anschließend wird das Seil entweder um die Tipistange N herumgeschlungen, oder in sehr windanfälligen Gegenden kann auch ein großer Hering in Verbindung mit dem Seil als Anker dienen. Der Hering (zB. eine größere Holzstange) wird in einem ca. 60° Winkel hinter der Feuerstelle in den Boden gerammt und das Seil wird daran befestigt.

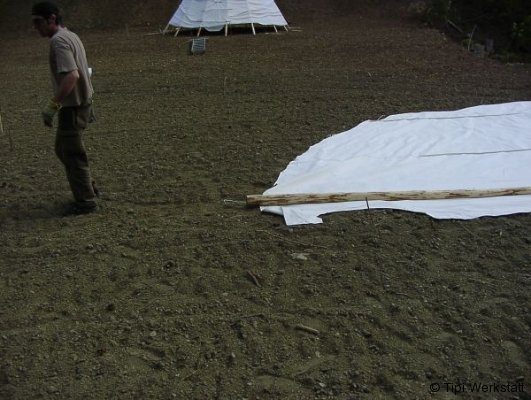
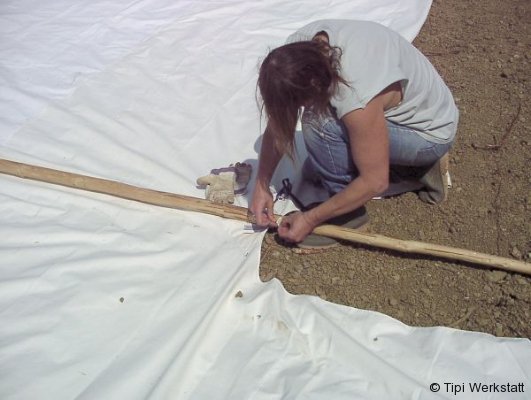
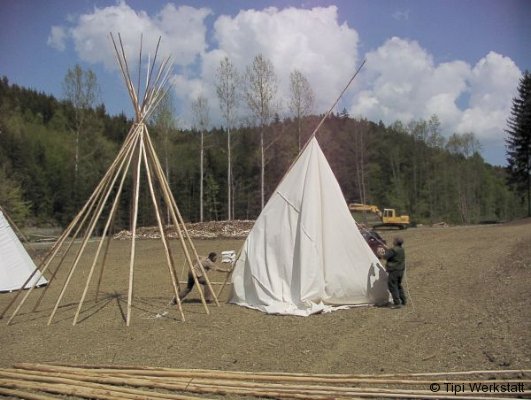
Jetzt kann der Stoff an der letzten Tipistange L angebracht werden. Der Meßvorgang ist der gleiche wie beim Aufstellen der ersten drei Tipistangen und kann daher gleichzeitig erfolgen. Der Stoff wird von der Eingangstüre zur Mitte an beiden Seiten zusammengefaltet und das ganze Bündel mit der Stange an der vorher freigelassenen Stelle aufgerichtet. Nachdem der Stoff über das Stangengerüst ausgebreitet wurde, beginnt man von den Rauchklappen nach unten das Tipi zu schließen. Dann wird mittels der Heringe der Tipistoff nach unten gespannt. Eventuell ist es notwendig, einzelne Tipistangen in deren Ausrichtung zu korrigieren. Jetzt muß man nur noch die bereitgelegten Stangen für die Rauchklappen einsetzen und los geht`s…….. Diese Anleitung steht als Pdf-File zur Verfügung! Für Fragen stehen wir ebenfalls gerne zur Verfügung!
Videos zum Aufbau findet ihr auf Youtube.
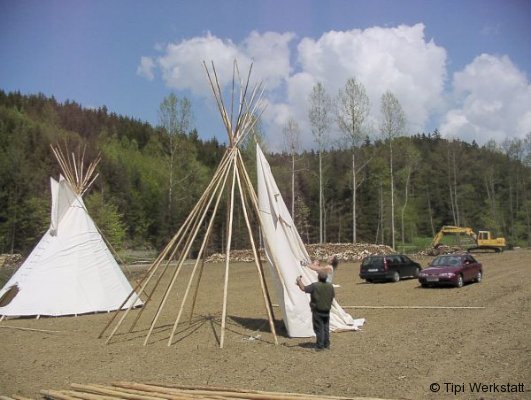
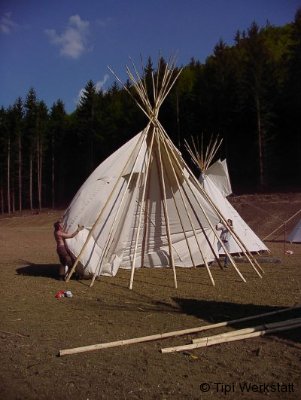
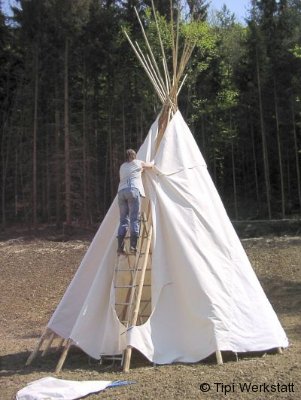
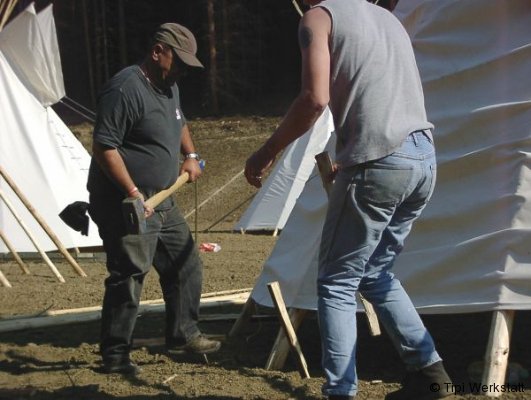
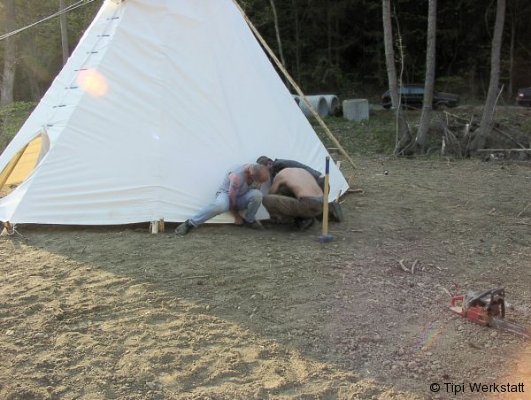
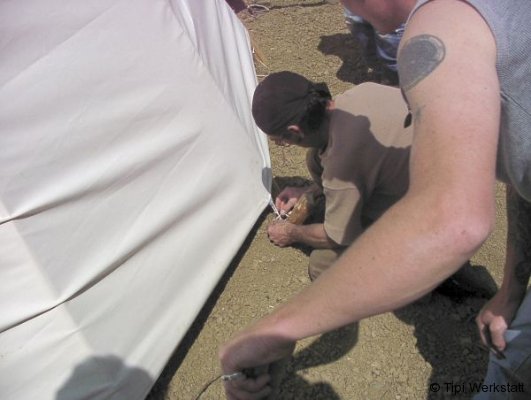
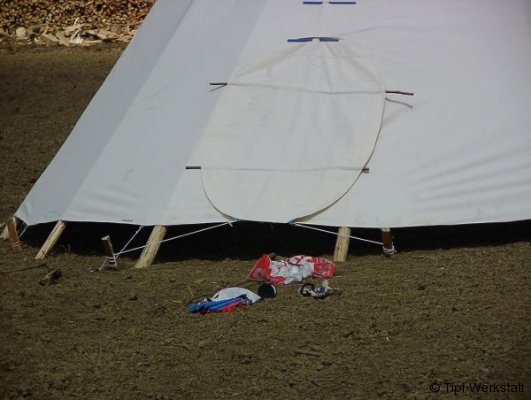
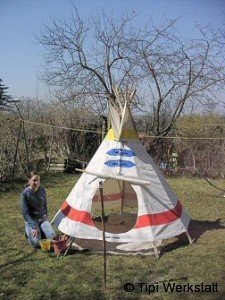
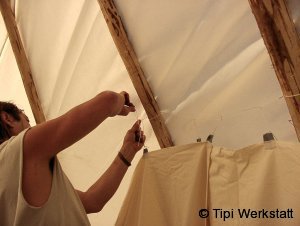
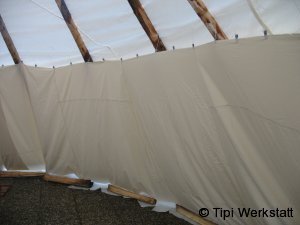
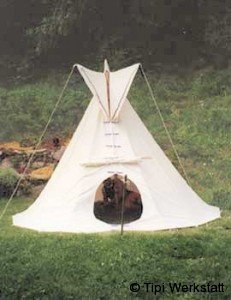
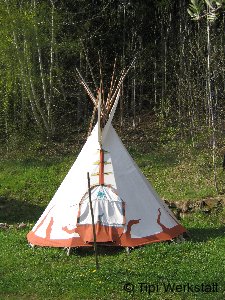
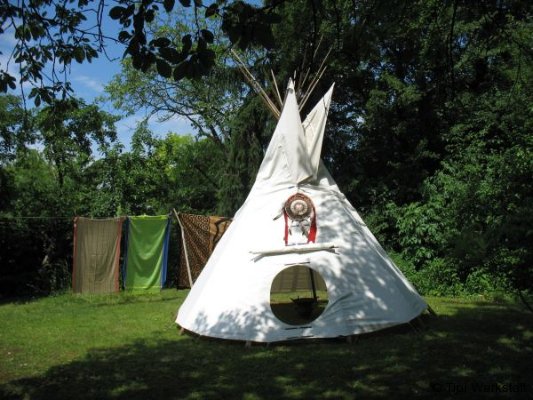
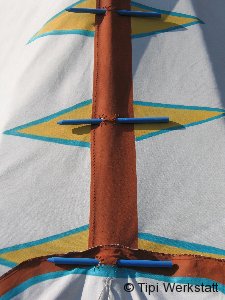
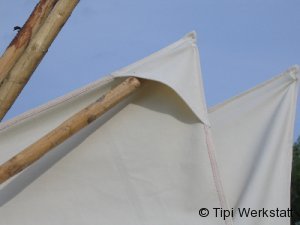
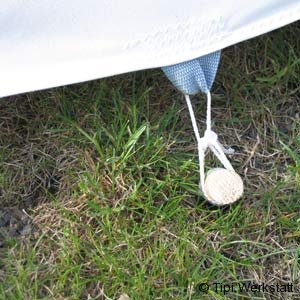
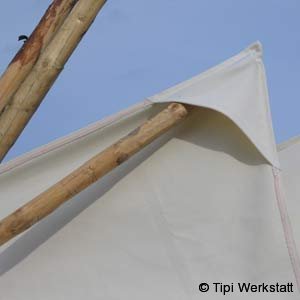
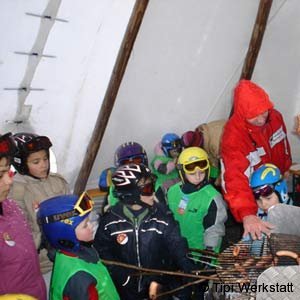
Bilder zum Aufbau!