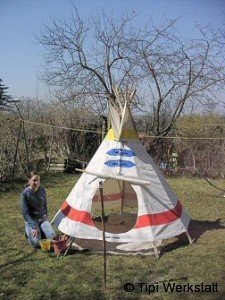
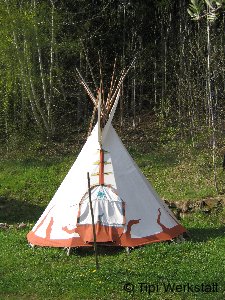
Zum Aufstellen wird eine Stange mit ca. 3m Länge verwendet. Optional ist eine zerlegbare Stange verwendbar. Für die Heringschlaufen und die Spannseile werden Heringe aus Holz oder Metall benötigt.
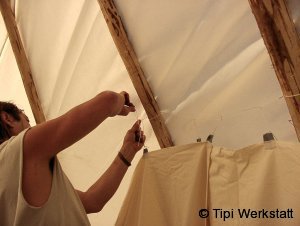
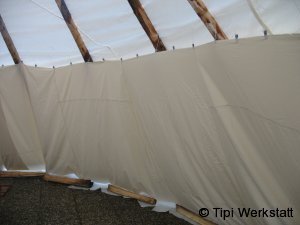
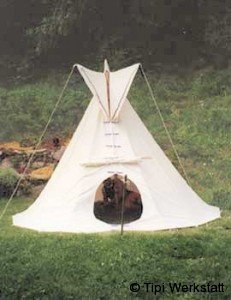
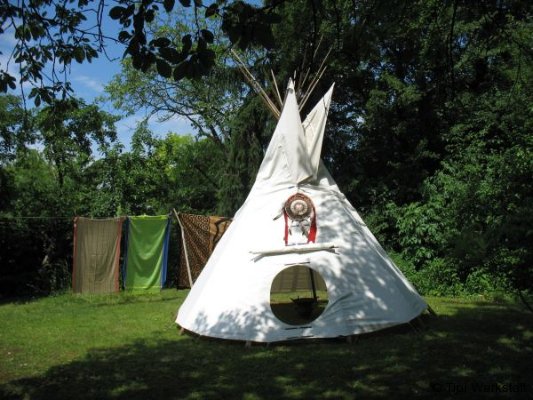
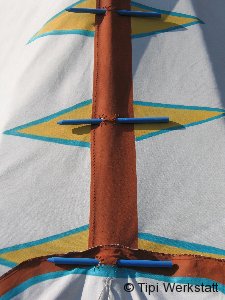
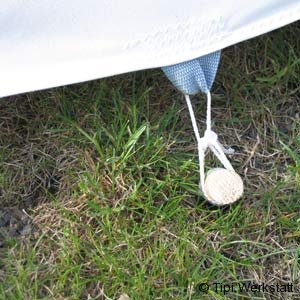
Die Stange wird in die Kapuze des Tipis gesteckt und das Tipi aufgerichtet. Mittels der 3 Spannseile an der Kapuze wird das Tipi in eine vorläufige Form gebracht und mit den Verschlussstäben geschlossen. Die Türe wird an dem zweiten Verschlussstab oberhalb des Türausschnittes angebracht. Mittels der Heringe wird die endgültige Form des Tipis festgelegt. Der Stoff ist so zu spannen, dass er mit dem Boden abschließt. Da kein Innenzelt vorhanden ist, wird dadurch der Luftzug von unten verhindert. Wegen der Bodenberührung ist es nicht ratsam, das Tipi dauerhaft aufgestellt zu lassen.
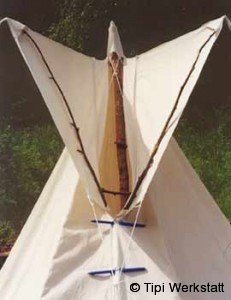
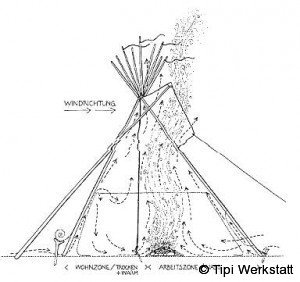
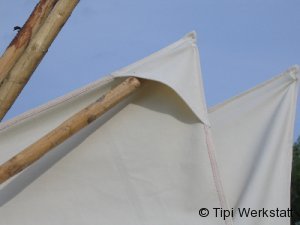
An der Innenseite der Rauchklappen befinden sich jeweils zwei dreieckige Taschen, in die eine ca. 1m lange Stange gesteckt wird, um den Rauchklappen eine entsprechende Form zu geben. Mit den 4 Seilen an den Rauchklappen können diese gespannt werden. Es empfiehlt sich, ca. 1,5m vor dem Eingang eine Stange in den Boden zu rammen. Daran können die Rauchklappenseile befestigt werden. Das 2m Spannseil wird an dem Verschlussstab der Türe angebracht und zu den unteren Seilen der Rauchklappen gespannt.
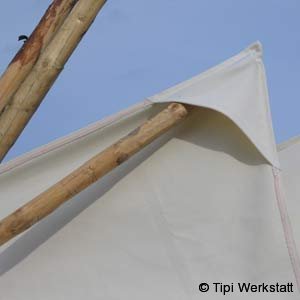
Das Tipi kann auch als Mehrstangentipi aufgestellt werden (9-12 Stangen)! Hierfür ist die Schlaufe an der Außenseite der Kapuze zu verwenden. Diese wird an der letzten, aufzurichtenden Stange angebunden. An der Außenseite der Rauchklappen sind entsprechende Taschen für die Rauchklappenstangen vorgesehen. Siehe Aufstellanleitung für das Mehrstangentipi.
Eine weitere Möglichkeit ist, das Tipi als Hängetipi zu benutzen. Es wird ebenfalls die Schlaufe an der Außenseite der Kapuze verwendet, um das Tipi an einem Seil zu befestigen. Die Aufstellung erfolgt wie beim Einstangentipi.